Sunday 23 March 2014

Bald Cap creation

After ordering some supplies from Kryolan including Glatzan L latex, I set about making my own bald cap. This was easier said than done, the main problem I still have is removing the bald cap from the plastic head without it ripping. On my second attempt it was slightly easier as I'd used about 8 layers instead of 6 but I think there are rough parts on the plastic head which the latex seems to firmly stick to.

First attempt:
As you can see the front is completely ripped - the bald cap was also too small.


Second attempt:

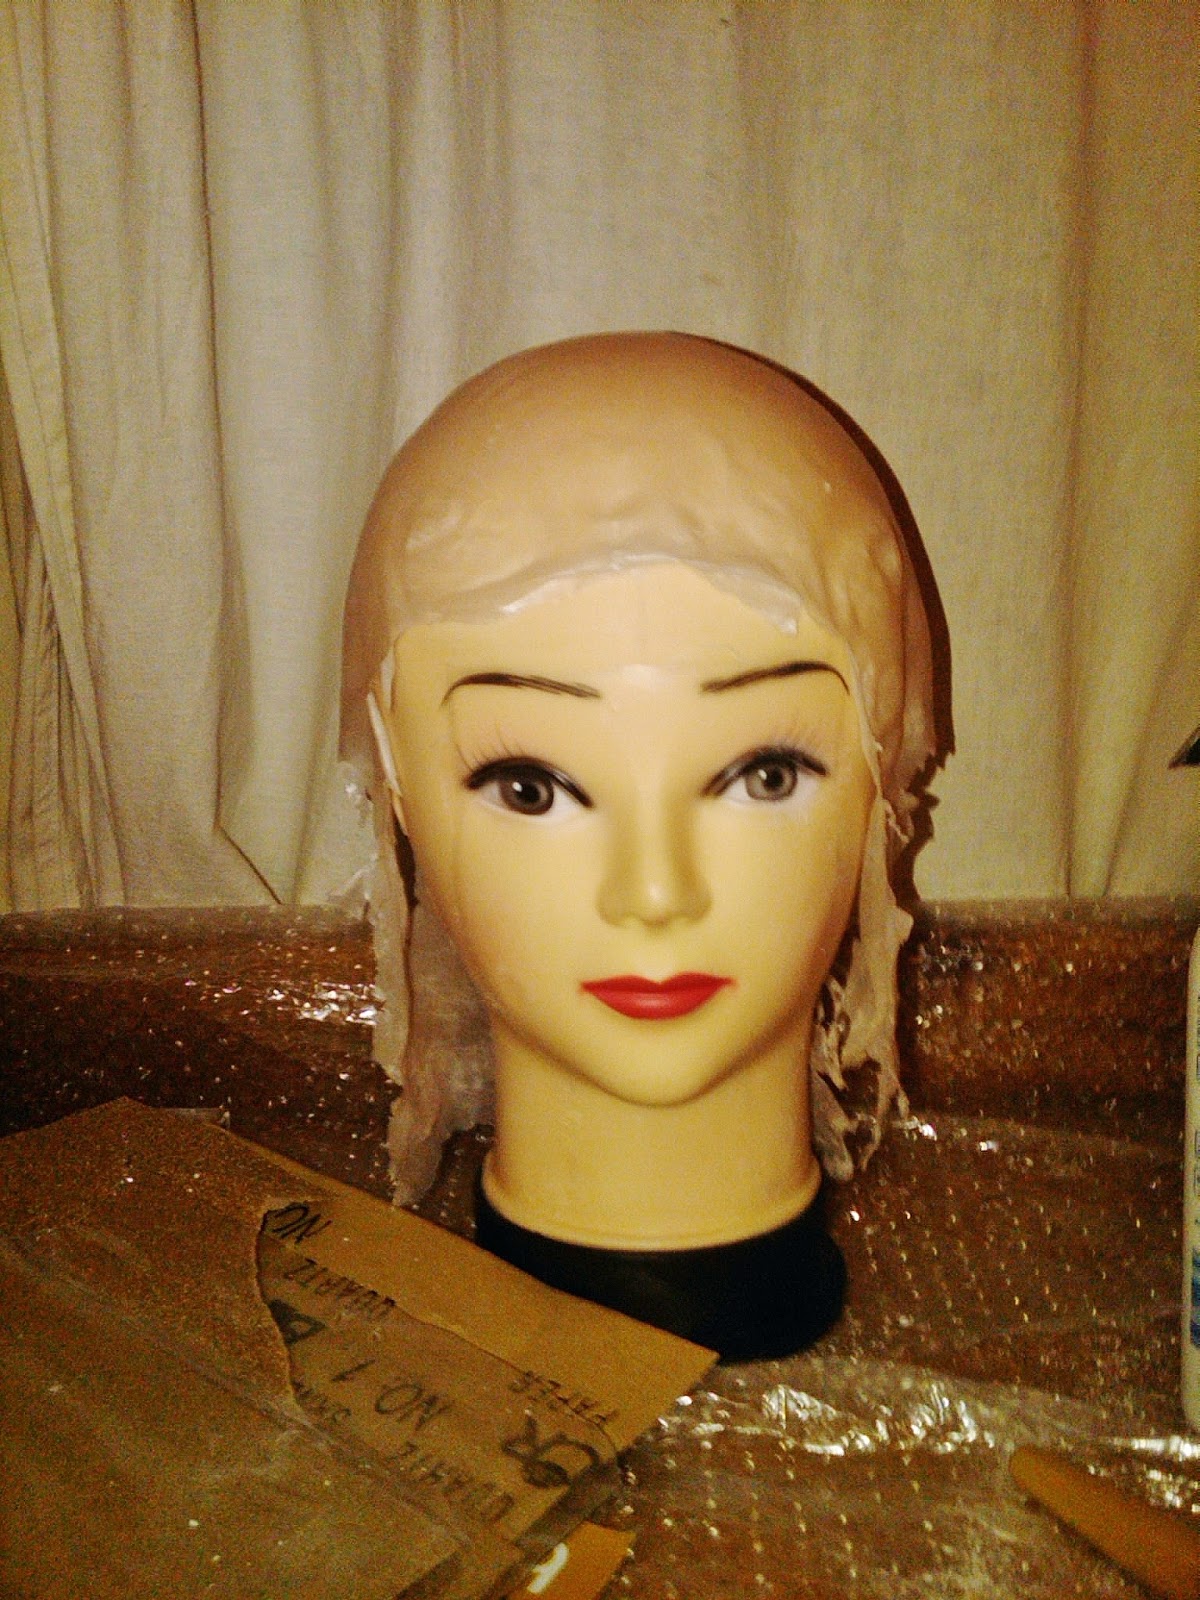
This turned out a heck of a lot better, particularly as I used a petroleum jelly which wasn't tinted (that was a mistake in the first one) and I used a few more layers. It still had problems though - my plastic head which I found on ebay has little ears which are a nightmare when I'm trying to peel off the bald cap. For this second attempt I tried to avoid the ears completely hoping that the holes would fall naturally where my ears are. This was close but didn't work out exactly...


Bald cap still a bit small and edges were a mess. Still I set about trying to stick some of it on just to see what I looked like.


The actual material is very transparent as you can see here - next time I will use a bit of gel for those wispy hairs at the front.

I only stuck a very small part down at the front, partly to save spirit gum and partly because the edges were poor and the cap was too small to trim further.

My third attempt is the most successful so far. To smooth out the rough edges on the plastic head I gave it a rub with acetone, here you can see where my poor plastic head has lost the colour in one eye because of this.
However it was the most difficult to remove, perhaps because I left it to dry for an hour after applying the second coat. One thing I experimented on was whether you could seal the plastic head with PVA, this didn't work for me as the PVA wants to stick to the latex and if it comes of with the latex it is very brittle and won't stretch with it.

You can see my most recent attempt here, along with my makeshift workstation complete with one-eyed plastic mannequin head!


A little note - I find that cheap sponges from the supermarket cut into thirds are the best for applying Glatzan L and talcum powder is just as good as using expensive translucent powder when it comes to removing the cap.

I will be attempting to fit a model with this bald cap in the near future.


First attempts; bruising and ageing

Welcome to my theatrical makeup design blog. To briefly explain how I started doing this, I have always had an underlying connection with theatre, my father was a singer/actor and whilst growing up I was involved in a drama group for several years. I studied Fine Art at university for 4 years, after which I was struggled to keep drawing and painting. But now that I work in the Kings and Festival Theatres (Edinburgh) I get the chance to see a lot of productions and this has rekindled my connection with theatre and has given me another creative outlet. Stage makeup seems to be quite a natural avenue to go down for me and has been an interest of mine for a long time.The first few posts I put up here may not show me looking my best, and I hope my technique will improve, however this gives an idea of what I've been up to and will at least track any progress I've made.

For the firsts few attempts I was limited to using what I had in my own makeup bag. One of the first basic looks I attempted was an old man/woman and then a bruised/black eye. Felt like a normal way to start off with as I'd already had a go at these during my drama club days.

I'll show the bruised pictures first to give an impression of what I look like in comparison to the "old lady" photos.


I didn't go overboard with this - now that I have a few more materials at hand I may be able to give the impression of swelling and more intensity to the bruises.


The old lady look could also be exaggerated now - by using natural creased in my face whilst making expressions this was quite a simple one to do. Contouring helped a lot in sallowing the cheeks and creating drooping saggy eyes.


Luckily I also had a volunteer model to practice on for my "old man" look.


I feel this one is slightly more exaggerated and more of a suitable theatrical look. Under stage lights though, it may appear too washed out.


The poor quality of the photos also plays a part here - I may need to hire/buy a camera in the future once I feel happy enough with my work. At the moment I've just got the camera on my phone which is not bad but doesn't deal with lighting very well and requires me to touch up the photos an awful lot on Live Photo Viewer.